Upgrade: one-by conversion!
Shedding some weight with no major downside.
Created:
Updated:
Rationale
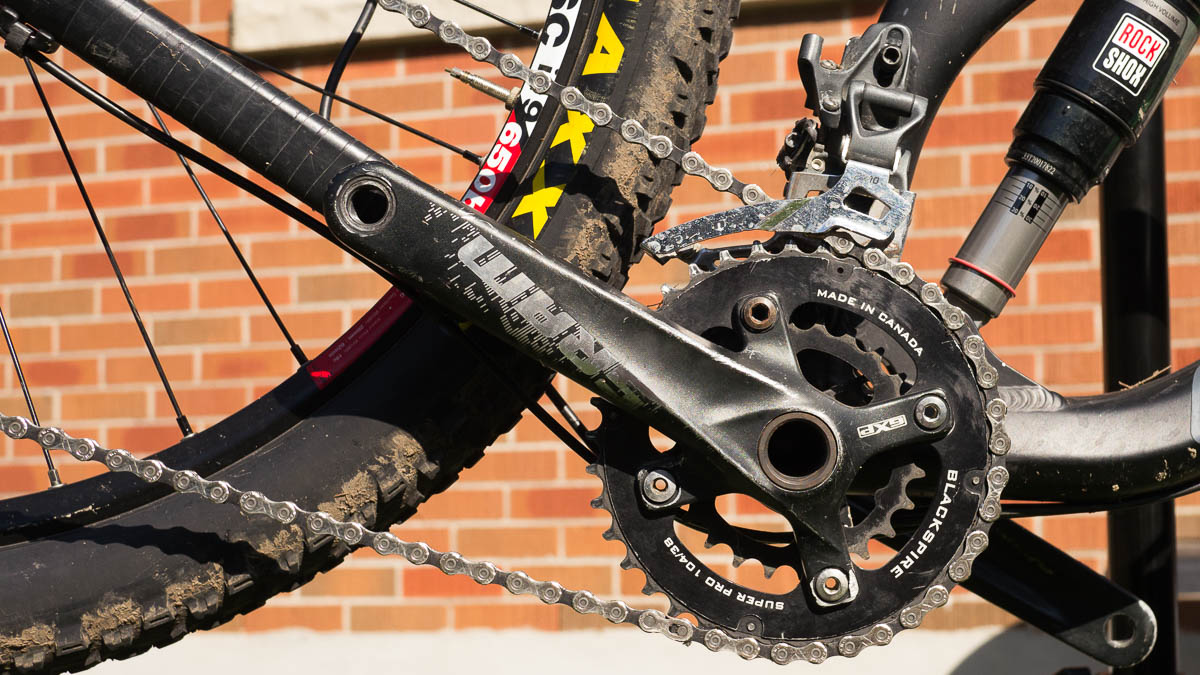
My full-suspension mountain bike has been serving me well for about seven years now. She’s a 2013 KHS 6500 with a 2x10 transmission. Translation: Two chainrings at the front and ten speeds at the back. Living in Ontario I find that I rarely change the front gear to the smaller chainring unless I am in a few specific regions where I know there are a lot of short, punchy climbs that need a bit of granny gear to get to the top. But by the time I’ve developed some fitness and added a bit of muscle to my legs I’m able to climb those hills in the big gear.
So for most of the season I’m just dragging around an extra chainring, a derailleur and a shifter for no good reason. Furthermore, I still drop the chain on the front derailleur onto the lower ring during really choppy sections, so it’s not even doing it’s one job!
As a result, the decision was made to replace the current set-up with a single chainring to save a bit of weight and hopefully keep from dropping a chain ever again since it is a horribly frustrating experience and has probably robbed me of many, many KOMs on Strava.
The New Ring
It seems counter-intuitive to think that getting rid of the derailleur will somehow keep the chain from coming off when things get bumpy. But as usual, some smart people out there have developed narrow-wide technology.
Take a look at the nearest bike, go ahead, I’ll wait. I guess now that you’ve gone and come back, you could have just looked at the photo above. Notice when you look from above that there is a narrower notch and a fatter notch where the teeth insert? These new chainrings actually have a wider tooth and a narrower tooth that match this pattern. Observe:
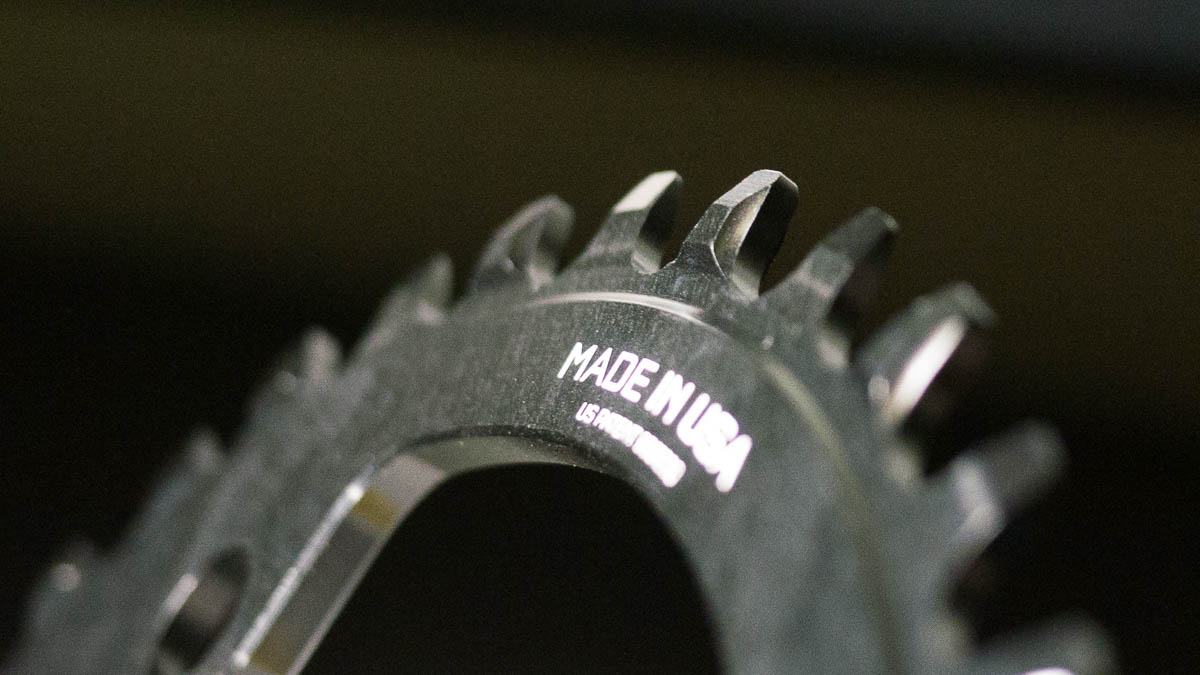
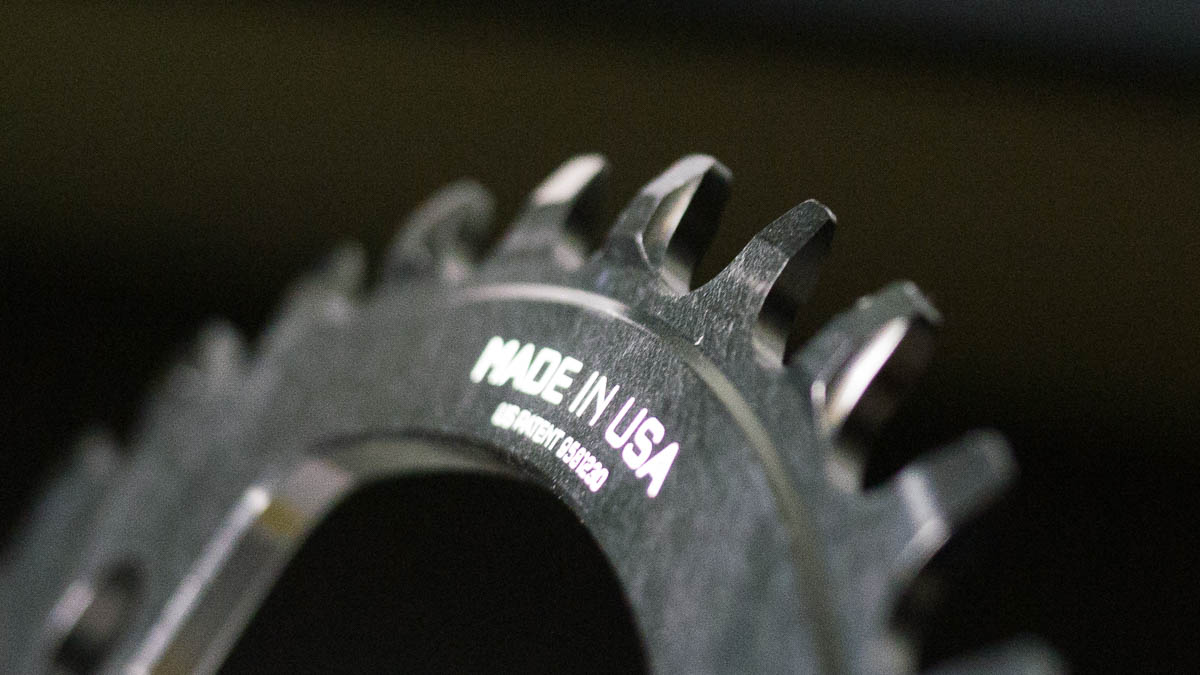
The idea being that the chain fit is tight enough that it won’t rattle loose and jump off like in the good old days. Apparently this works - I have never experienced it but am looking forward to testing it out.
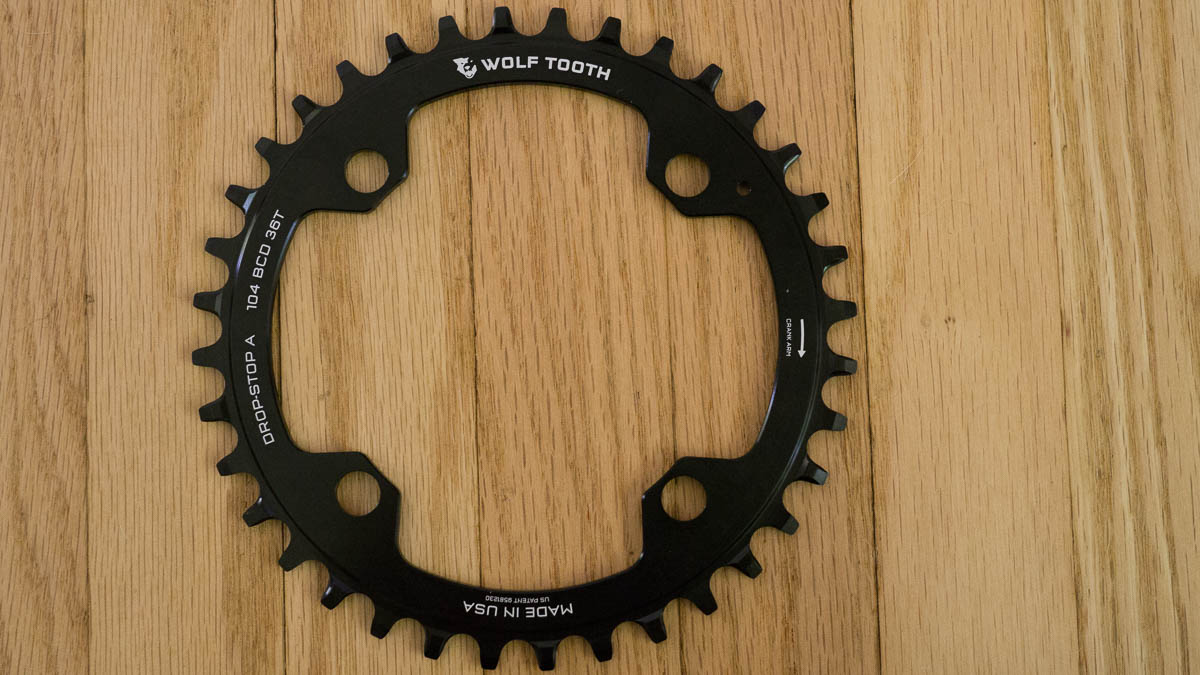
There are a number of companies making these rings now. I chose one made by Wolftooth for a number of reasons:
- Multiple tooth options.
- Light and durable.
- Not made in China.
- In stock.
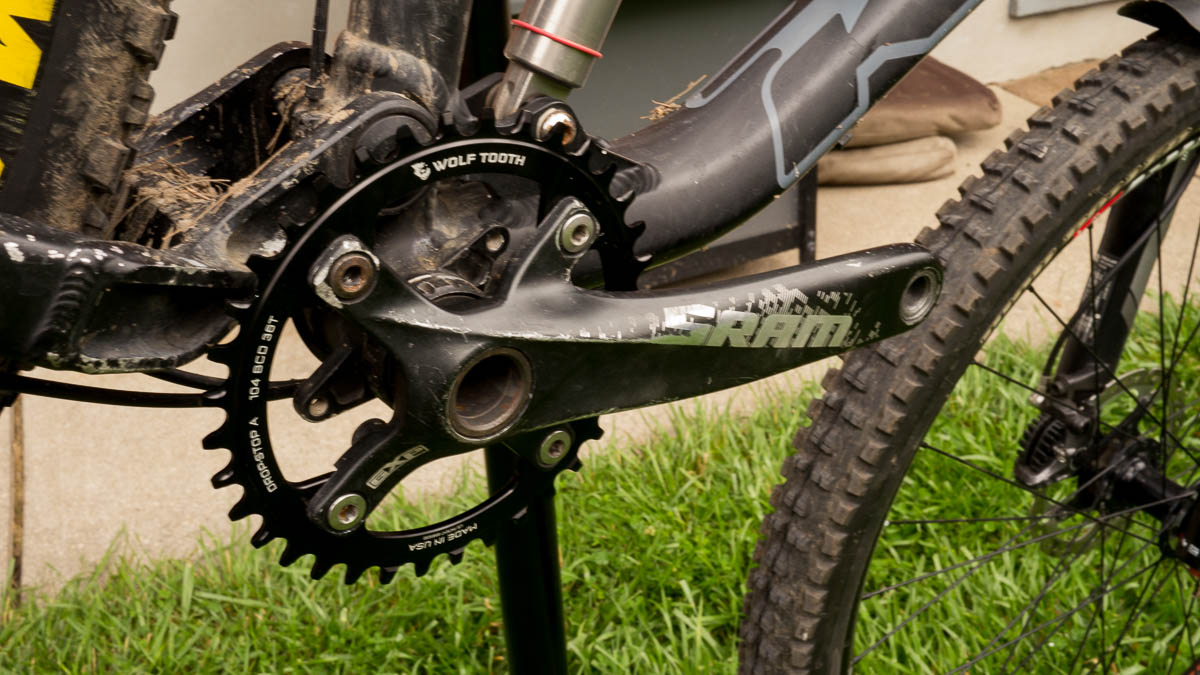
My current chainring has 38 teeth, and I thought I’d like a bit more climbing power than high-end speed so I decided to order a slightly smaller 36 tooth ring. They are offered as small as 30 teeth but we’ll see how my choice works out in the long run. Here it is in all it’s brand-new glory. All that’s left now is to install it. Oh wait, I guess that’s the hard part.
Edit: It might not be obvious but the main reason anyone in the mountain bike world updates their gear is that it looks better/cooler. I just feel that that is important to know.
Installation
This is the fun bit. By all means head down to the local bike stop if you want one installed by a professional. But if you are comfortable with some relatively basic mechanical work, this isn’t too tough.
Tools required for this project:
- Set of metric hex wrenches (4, 5, 6, 8mm).
- Torx 25 driver (to remove shifter, yours may differ).
- Scissors (to cut old cable ties).
- Cable ties (for cable management).
Things that make life easier:
- Bike stand.
- Masterlink chain pliers.
- Container for fiddly bits.
So not really that many tools needed, nothing specialized for sure. Depending on your front derailleur, you may need to break the chain in order to remove it from within. This is a great time to replace your chain if you haven’t done it in a while. Seriously, a nice, clean, shiny new chain is the best.
Here’s how I did it, briefly:
Remove chain by breaking at masterlink where it can easily be put back together.
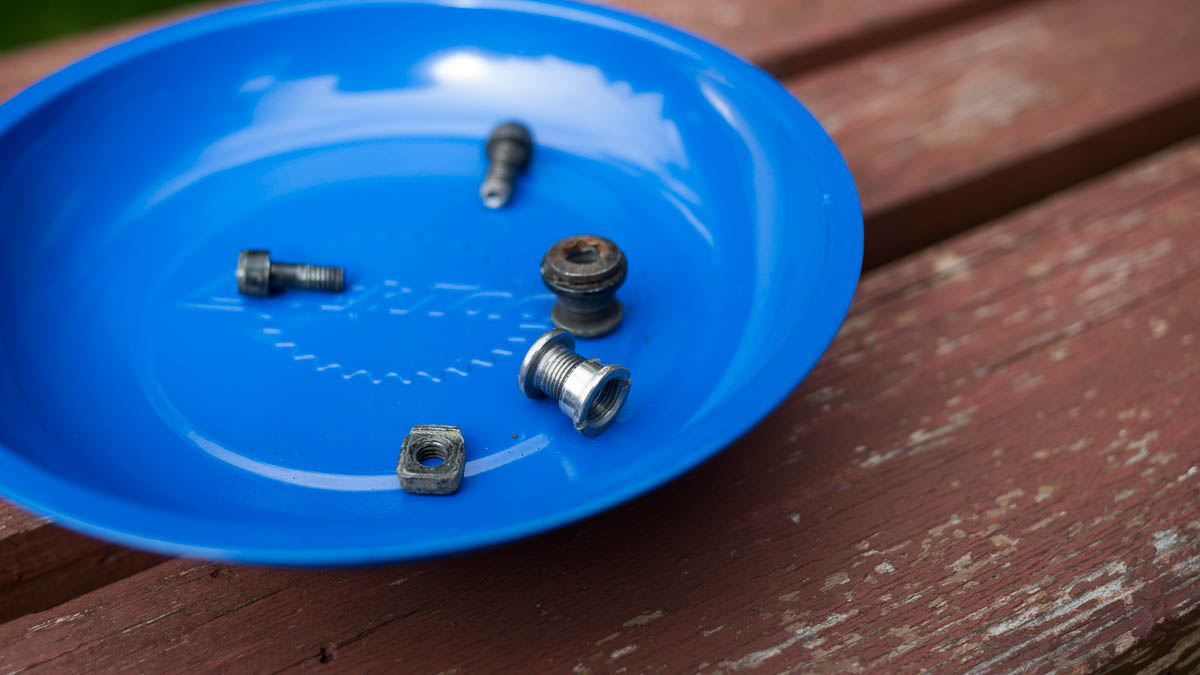
Remove small chainring by unscrewing from crank arms. Remove large chainring by unscrewing. The large bolts thread into a holder and may just start to spin once they are loose - I was able to get them off by holding them in place by hand.
At this point you should have the annoying realization that the small chainring can’t get past your cranks with removing them.
Remove cranks.
Remove small chainring.
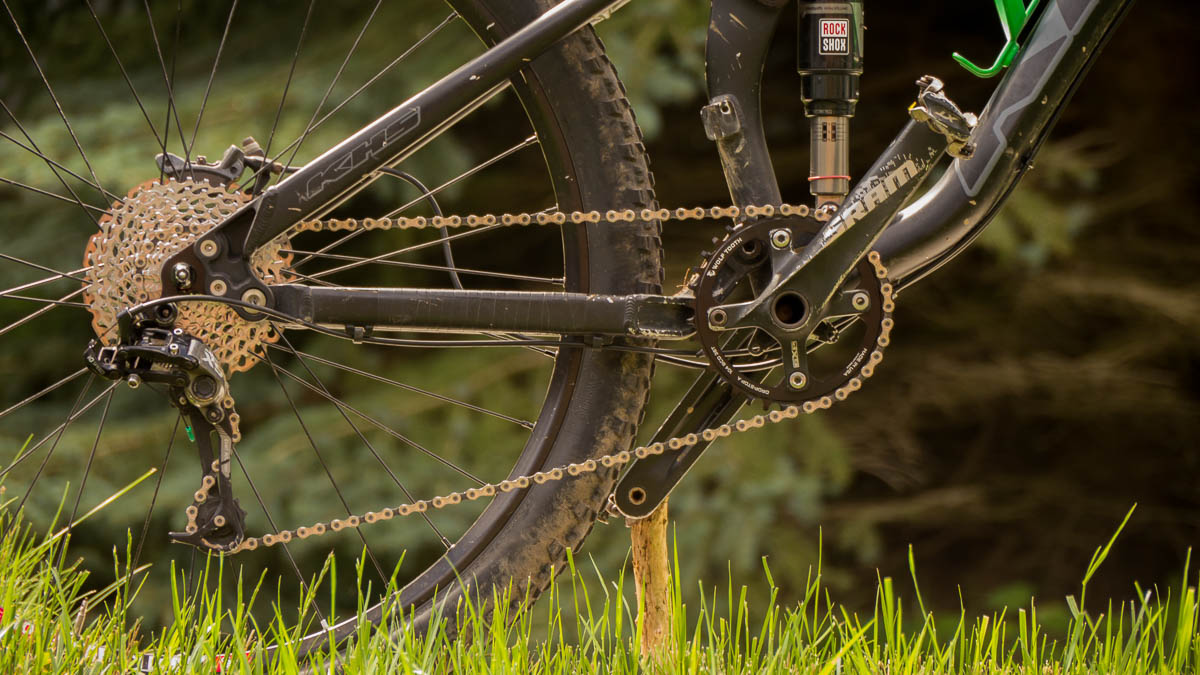
Since the cranks are off, may as well just bolt the new chainring back on.
Install cranks with new chainring installed.
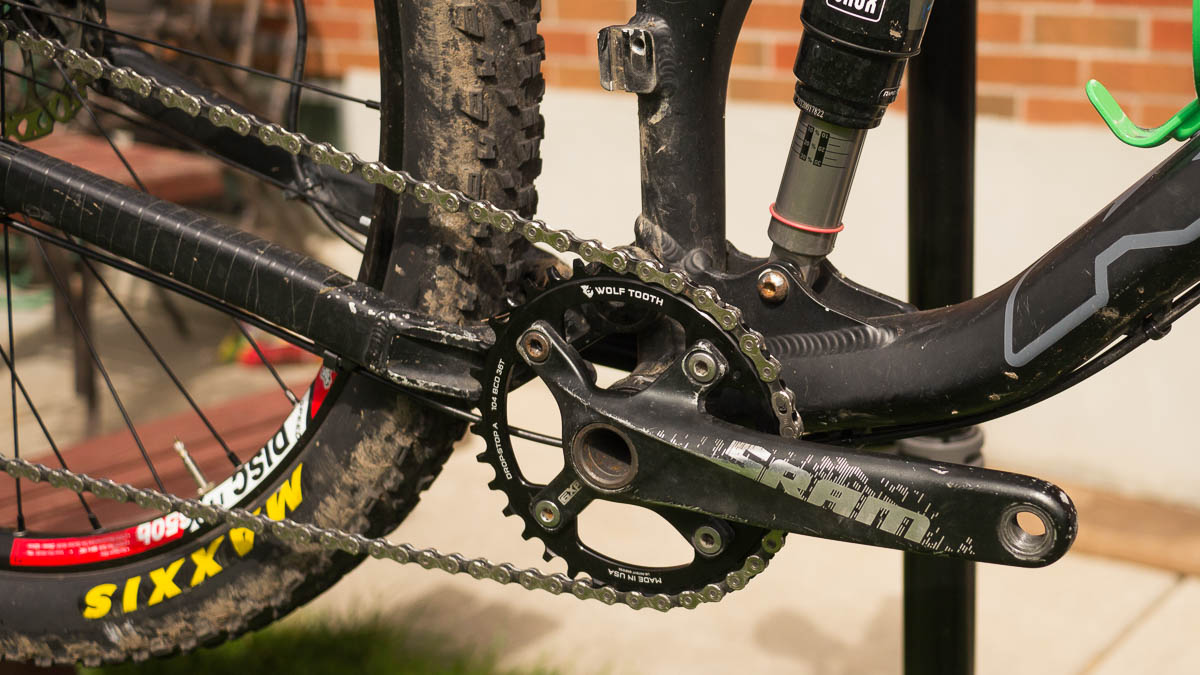
Hooray, you’re most done! Feel free to strap the chain back on and notice how the chain doesn’t really go on to the new ring if it’s not lined up properly. Satisfying…
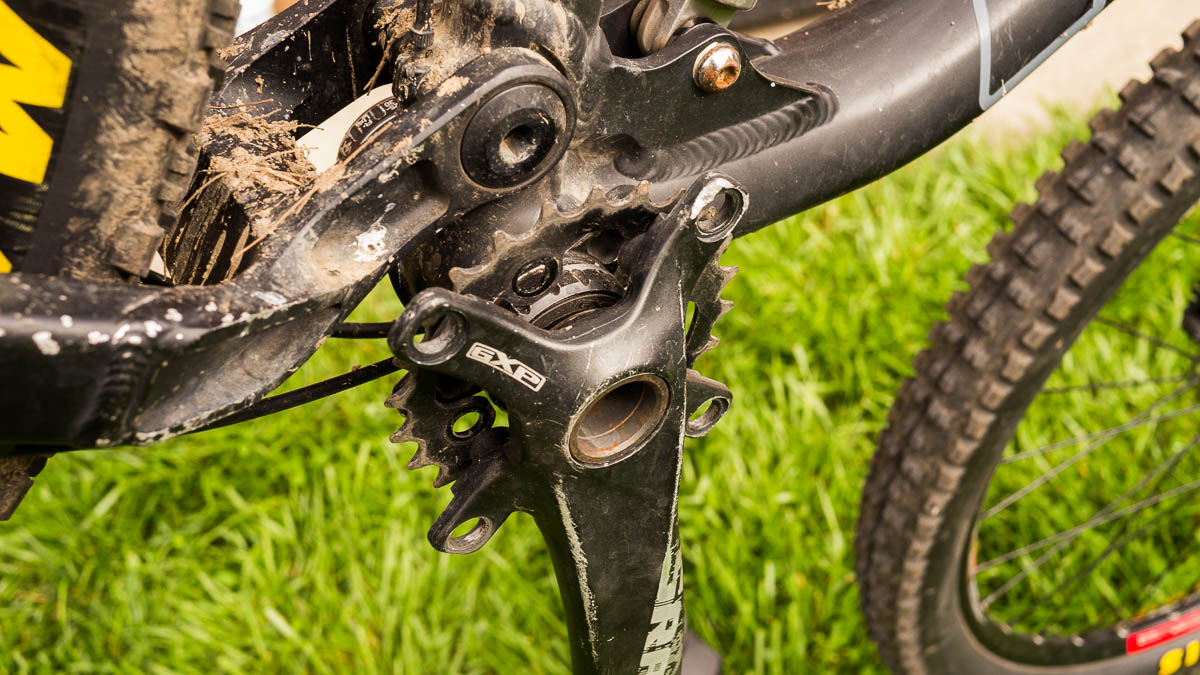
The derailleur bracket is still there, but hey, can’t win ‘em all. Hang onto all the extra crap so that when you decide to sell on Kijiji you can pretend it’s a big deal that they can convert it back like some idiot.
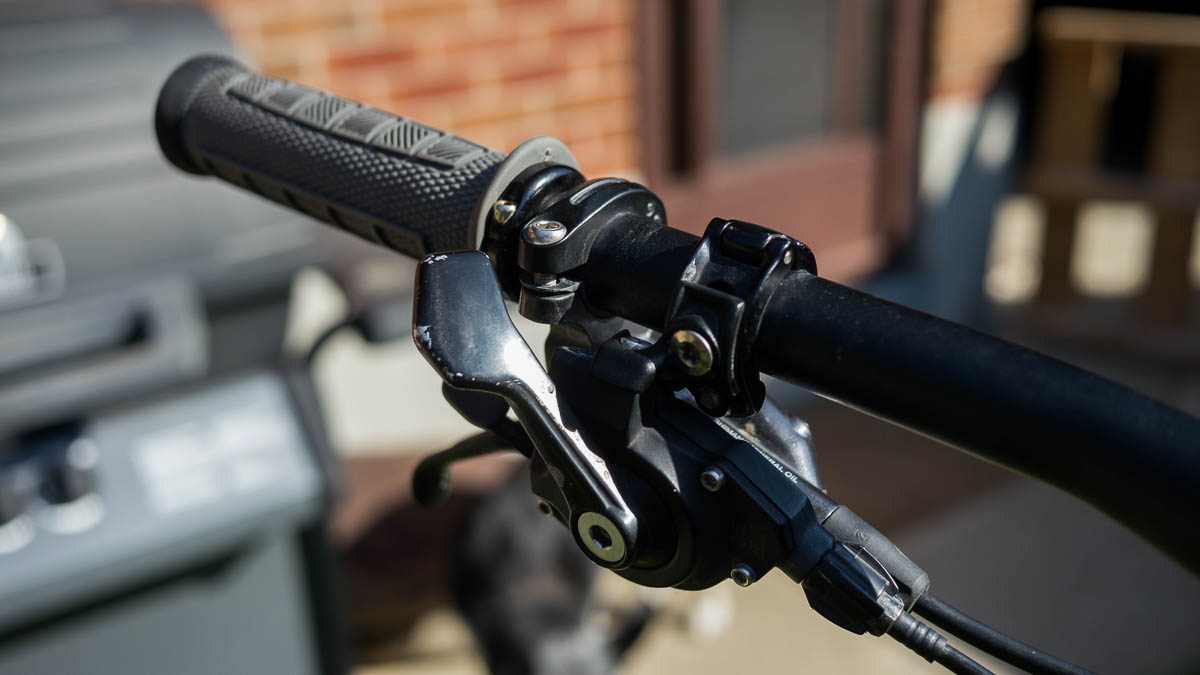
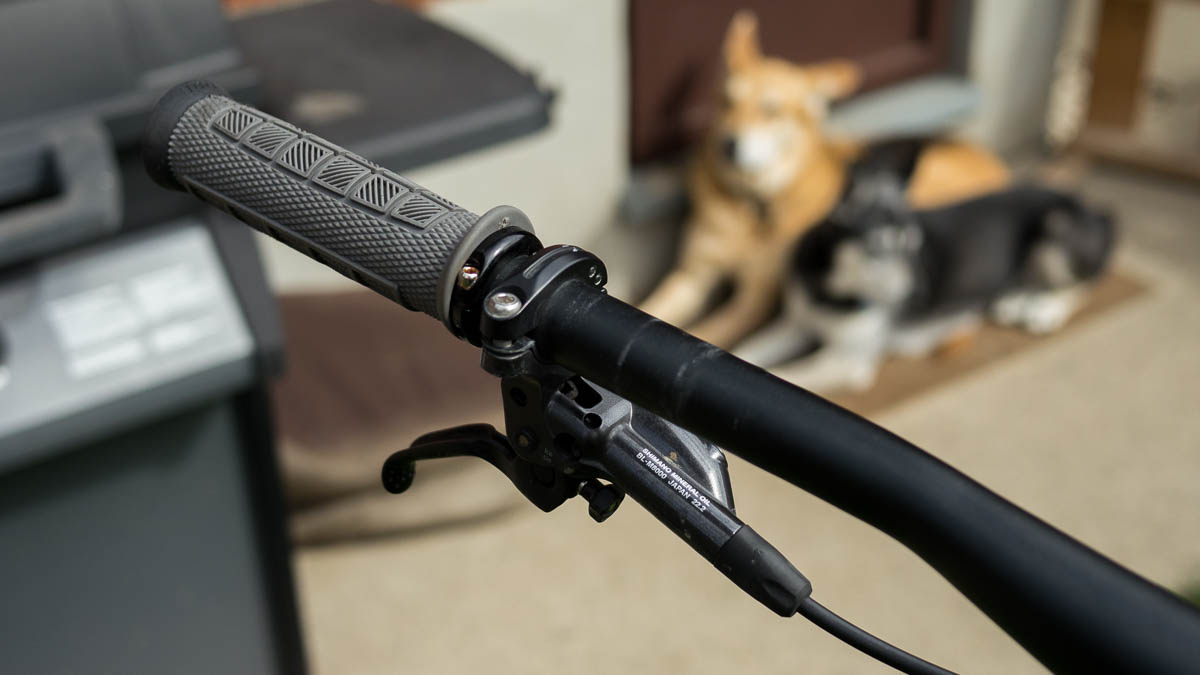
So now all that’s left is to remove the cable up to the shifter and unscrew the shifter from the bars. Mine were routed externally so it might be trickier if they run internal but I don’t know, maybe easier? Let me know in the comments (just kidding there are no comments and if I wanted to know I’d go look it up using Duck Duck Go). Handlebars shuld be looking sleekier and sexier now.
Conclusion
That’s it, we’re done! If necessary strap the cables back to the frame with some fresh zip-ties and we’re off to the races. Unfortunately the sun came out in time for the final shot and made the lighting terrible, but I’m pretty happy with the outcome:
I’m excited to see how this works out, but not 100% confident that it will reduce the number of chain drops. Stay tuned for a review after I’ve put a few hundred kilometers on it.
With that, I’m a 1x (pronounced one-by) guy now. Thanks to the following sponsors for tossing me some free gear to help out:
- ha ha yeah right.
Bye for now.